 菡萏如佳人
菡萏如佳人ActiveMQ简介
ActiveMQ是什么
ActiveMQ是Apache推出的,一款开源的,完全支持JMS1.1和J2EE 1.4规范的JMS
Provider实现的消息中间件(Message Oriented Middleware,MOM)
ActiveMQ能干什么
最主要的功能就是:实现JMS Provider,用来帮助实现高可用、高性能、可伸缩、
易用和安全的企业级面向消息服务的系统
ActiveMQ特点
- 完全支持JMS1.1和J2EE 1.4规范(持久化,XA消息,事务)
- 支持多种传送协议:in-VM,TCP,SSL,NIO,UDP,JGroups,JXTA
- 可插拔的体系结构,可以灵活定制,如:消息存储方式、安全管理等
- 很容易和Application Server集成使用
- 多种语言和协议编写客户端。语言: Java,C,C++,C#,Ruby,Perl,Python,PHP
- 从设计上保证了高性能的集群,客户端-服务器,点对点
- 可以很容易的和Spring结合使用
- 支持通过JDBC和journal提供高速的消息持久化
- 支持与Axis的整合
消息中间件的主要应用场景
在多个系统间进行整合和通讯的时候,通常会要求:
1:可靠传输,数据不能丢失,有的时候,也会要求不能重复传输;
2:异步传输,否则各个系统同步发送接受数据,互相等待,造成系统瓶颈
目前比较知名的消息中间件:
IBM MQSeries
BEA WebLogic JMS Server
Oracle AQ
Tibco
SwiftMQ
AcitveMQ:是免费的java实现的消息中间件
与其他中间件的比较:
http://www.cnblogs.com/liping13599168/articles/1915245.html
下载地址:http://activemq.apache.org/activemq-5111-release.html
maven 依赖地址:
<!--ActiveMQ -->
<dependency>
    <groupId>org.apache.activemq</groupId>
    <artifactId>activemq-all</artifactId>
    <version>5.11.1</version>
</dependency>
<dependency>
    <groupId>org.apache.xbean</groupId>
    <artifactId>xbean-spring</artifactId>
    <version>4.0</version>
</dependency>
如果你采用的是springboot框架,你需要添加的依赖如下:
compile ('org.springframework.boot:spring-boot-starter-activemq')
这个依赖已经包含了如下几个依赖
<dependency>
   <groupId>org.springframework.boot</groupId>
   <artifactId>spring-boot-starter</artifactId>
</dependency>
<dependency>
   <groupId>org.springframework</groupId>
   <artifactId>spring-jms</artifactId>
</dependency>
<dependency>
   <groupId>org.apache.activemq</groupId>
   <artifactId>activemq-broker</artifactId>
</dependency>
下载并安装ActiveMQ服务器端
1:从http://activemq.apache.org/download.html(http://activemq.apache.org/activemq-5111-release.html)下载最新的ActiveMQ
2:直接解压,然后拷贝到你要安装的位置就好了
启动运行
1:普通启动:到ActiveMQ/bin下面,./activemq start
2:启动并指定日志文件./activemq start > /tmp/activemqlog
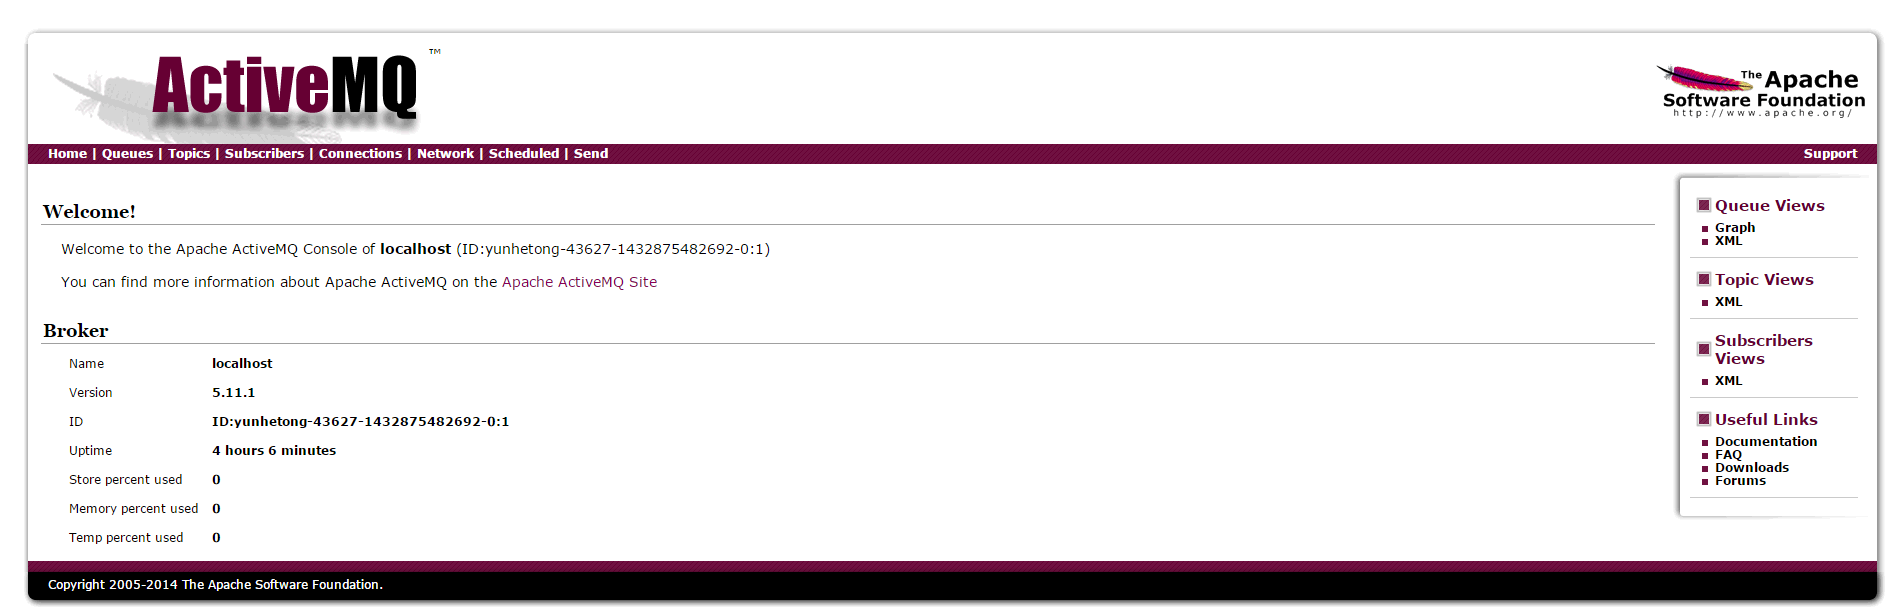
检查是否已经启动
ActiveMQ默认采用61616端口提供JMS服务,使用8161端口提供管理控制台服
务,执行以下命令以便检验是否已经成功启动ActiveMQ服务:
1:比如查看61616端口是否打开: netstat -an | grep 61616
2:也可以直接查看控制台输出或者日志文件
3:还可以直接访问ActiveMQ的管理页面:http://192.168.10.55:8161/admin/
默认的用户名和密码是admin/admin
关闭ActiveMQ,可以用./activemq stop
暴力点的可以用ps -ef | grep activemq 来得到进程号,然后kill掉

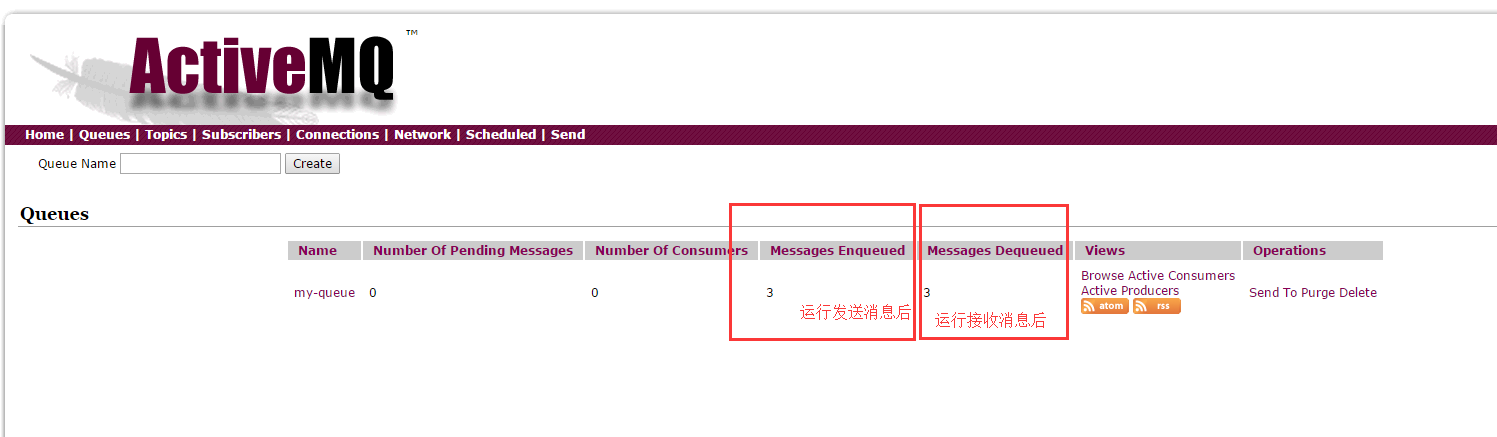
示例程序
创建一个小工程来测试下消息的发送与接收
此处创建一个maven工程,直接在POM文件中引入2个依赖包
创建2个类
package jmstest.queue;

import org.apache.activemq.ActiveMQConnectionFactory;

import javax.jms.*;

/**
 * Created by hzqiuxm on 2015/5/30.
 */
public class queueSend {

    public static void main(String[] args) throws Exception {
        ConnectionFactory connectionFactory = new ActiveMQConnectionFactory("tcp://192.168.1.55:61616");
        Connection connection = connectionFactory.createConnection();
        connection.start();

        //开启事务,消息确认方式为自动
        Session session = connection.createSession(Boolean.TRUE, Session.AUTO_ACKNOWLEDGE);
        //创建队列
        Destination destination = session.createQueue("my-queue");
        //生产者把消息传送到队列中
        MessageProducer producer = session.createProducer(destination);
        for(int i=0; i<3; i++) {
            TextMessage message = session.createTextMessage("message--"+i);
            Thread.sleep(1000);
            //通过消息生产者发出消息
            producer.send(message);
        }
        session.commit();
        session.close();
        connection.close();
    }
}
package jmstest.queue;

import org.apache.activemq.ActiveMQConnectionFactory;

import javax.jms.*;

/**
 * Created by hzqiuxm on 2015/5/30.
 */
public class queueReceive {

    public static void main(String[] args) throws Exception {
        ConnectionFactory cf = new ActiveMQConnectionFactory("tcp://192.168.1.55:61616");
        Connection connection = cf.createConnection();
        connection.start();
        //开启事务,

        final Session session = connection.createSession(Boolean.TRUE, Session.AUTO_ACKNOWLEDGE);
        Destination destination = session.createQueue("my-queue");
        MessageConsumer consumer = session.createConsumer(destination);
        int i=0;
        while(i<3) {
            i++;
            TextMessage message = (TextMessage) consumer.receive();
            session.commit();
            System.out.println("收到消息:" + message.getText());
        }
        session.close();
        connection.close();
    }
}